This article demonstrates how to tag decks with a Powered account. This article will also cover how to Achieve your decks.
Checking through the entire TopDecked Tour series will provide details on every part of the app. Most user questions can be answered within this article series.
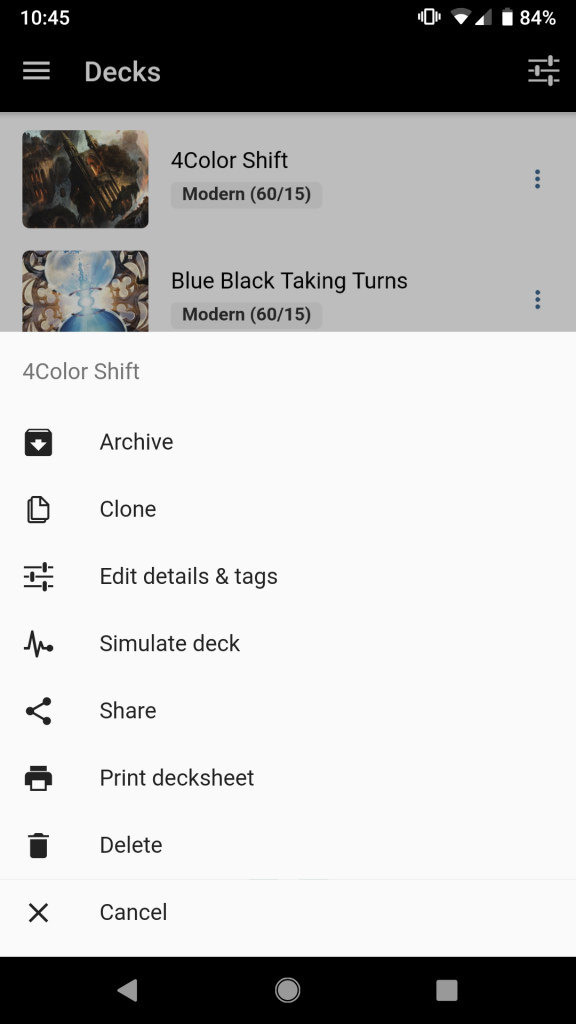
First go to decks and click the triple dot icon on the right. It will reveal the menu screen below. Select “Edit Details and Tags”.
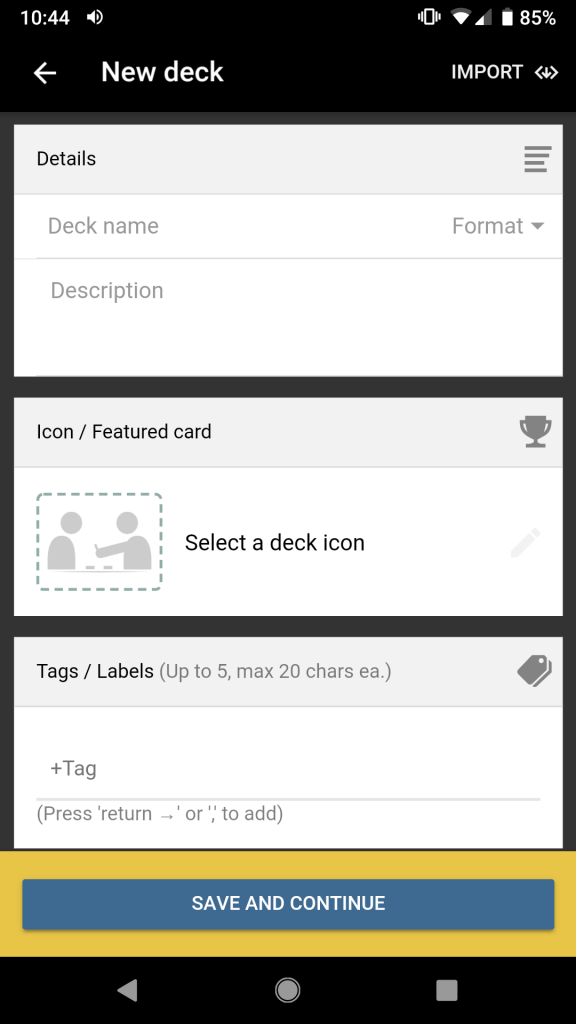
From here, a user can enter the tags they desire for their deck. A user can have 5 Custom Tags per deck. To add multiple tags, press return or use a comma in between each entry.
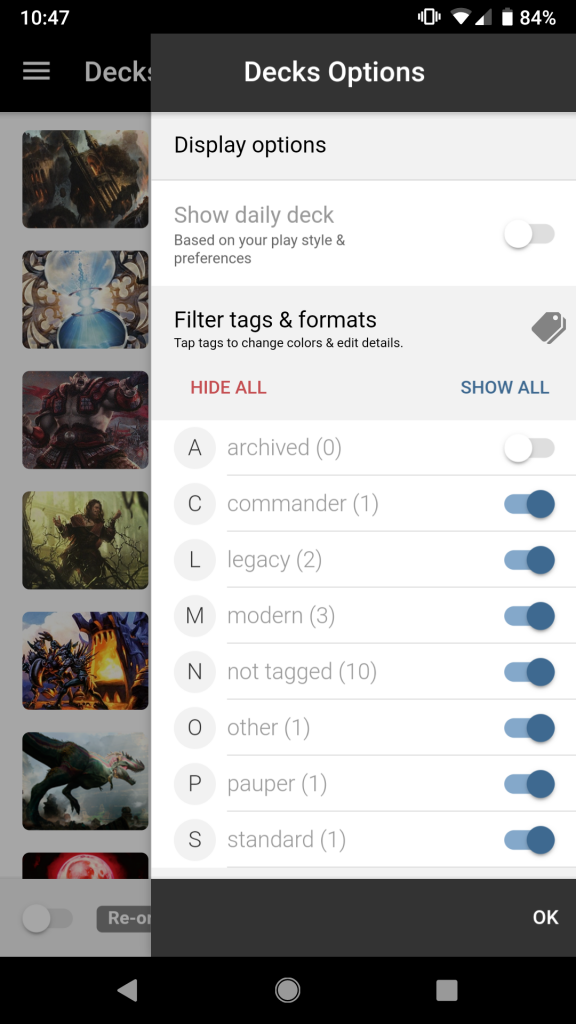
To change deck options that are displayed, select the slider bar option in the top right, and then the below menu screen will be displayed.
Toggle which decks you want displayed by tag here.
In this example below, we have unchecked all tags expect legacy. The hidden decks can be viewed by selecting the triple bar icon in grey.
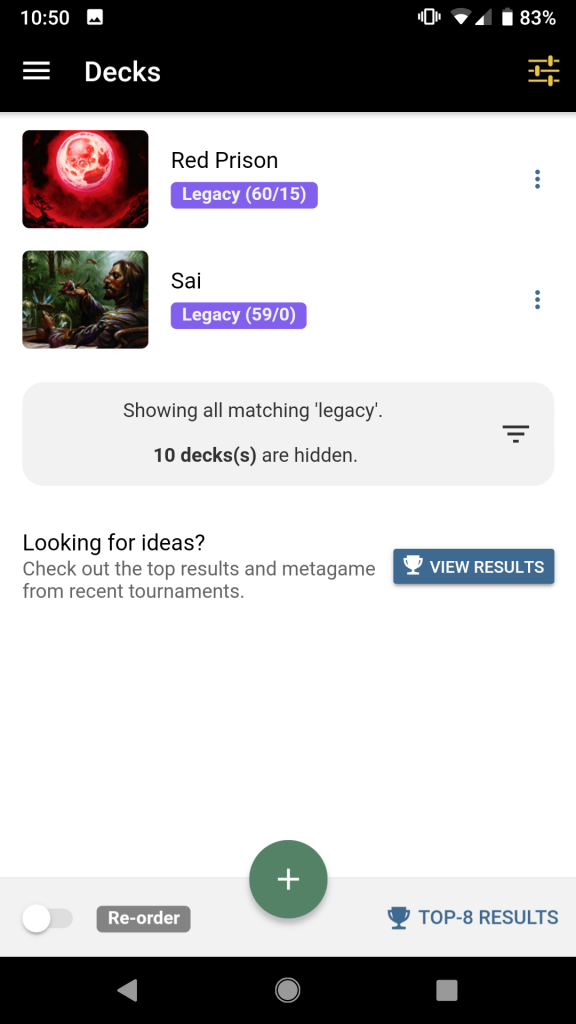
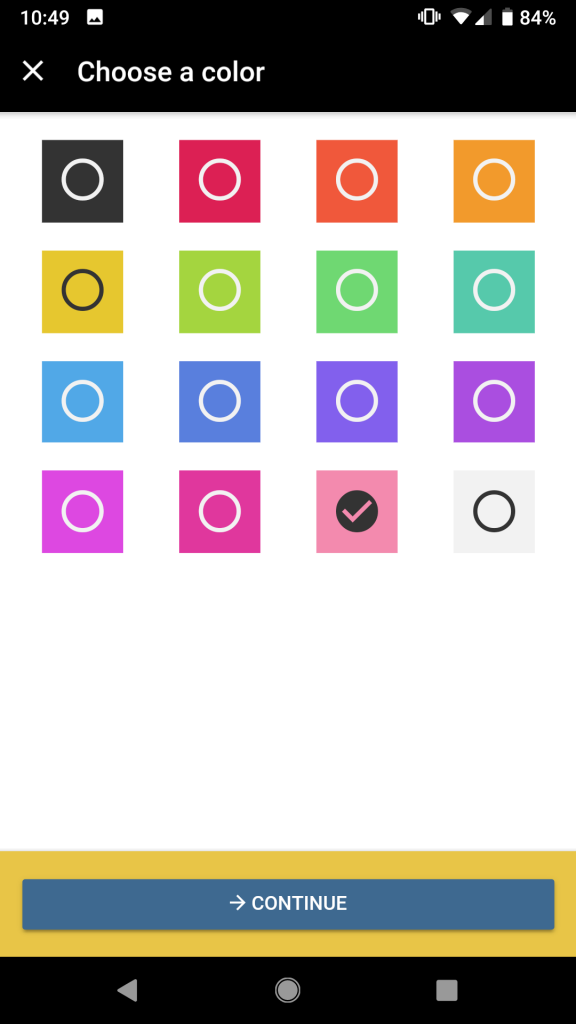
To change the color of your tag, select the grey circle in the Deck Options screen and then select a new color. The legacy tag in the example above was changed to purple.
